Setting Up Filters
Filtering and grouping activities in Merlin Project is an essential step to create focused and insightful project reports. In this chapter, we'll guide you through the process of setting up filters, and the next subchapter will explain how to utilize groupings. Once your project data is organized, we'll delve into creating reports and exporting them.
Filtering allows you to make specific project information visible while hiding irrelevant data. Merlin Project provides a wide range of filtering options, enabling you to generate various types of reports by sorting and highlighting project content.

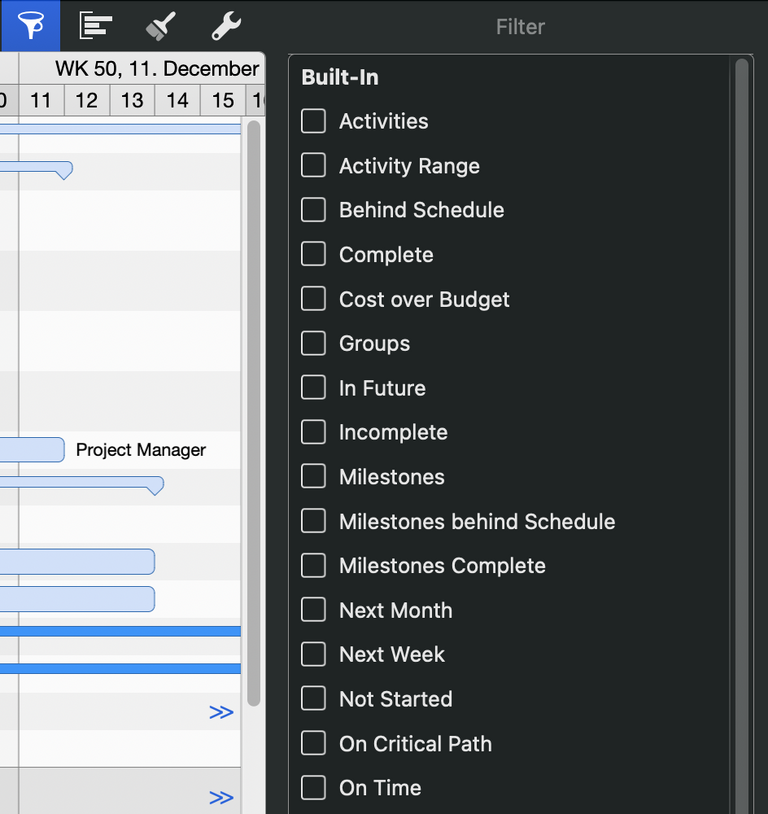
- Click on the funnel icon to open the Filter Inspector, located on the right side of the Function Bar. Here, you can view all built-in filters and add new ones through the plus symbol in the bottom-left corner of the Inspector window.

- Activate a filter by checking the box next to it in the Inspector. Your project's contents will automatically be sorted and highlighted according to the active filter.

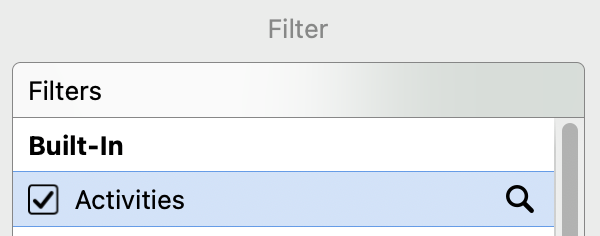
- Customize active filters by clicking on the magnifying glass icon next to a filter. This opens a dialog where you can view and adjust the filter conditions.
You control the display of filtered results with these three options:
-
Show non-matching hierarchy
-
Show only matching hierarchy
-
Show as a flat list
Further conditions can be added or removed by clicking the "+" or "-" icons. Tip: You can create indented conditions by holding down the “Alt” key.
Custom Filters
Merlin Project also allows you to create custom filters tailored to your project's unique requirements. Follow these steps:
-
Click on the "+" sign under the list of filters to add your custom filter.
-
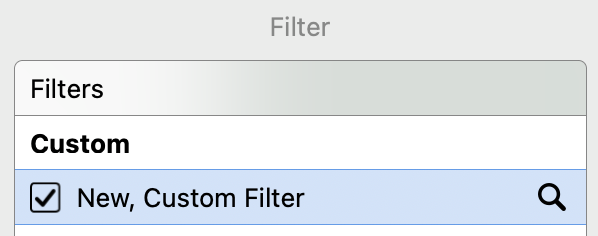
The category "Custom" will appear automatically, differentiating your self-created filters from the built-in ones.
-
Give your custom filter a clear and descriptive name to aid in future use.

-
Click on the magnifying glass icon to define conditions for your filter. Utilize the options in the drop-down menus to tailor the filter conditions to your specific needs.
-
Use the "All" drop-down menu to control whether all, none, or any of the set conditions must be met for the filter to be applied.
-
Manage the filter's graphical display with the three provided options to show hierarchy.
-
You can delete custom filters by selecting a filter and pressing the delete key.
If you want to, you have access to further filter options by clicking on the ellipsis icon. These options include:

-
Reset...: Revert recent changes made to the filter (Active only for built-in filters)
-
Activate/Deactivate Filter: Turn on/off an active grouping, equivalent to checking/unchecking it.
-
Cut: Remove the selected filter (Active only for custom filters)
-
Copy: Duplicate the selected filter
-
Paste: Insert a previously copied filter
-
Delete: Permanently remove a filter (Active only for custom filters)
-
Duplicate: Create a copy of an existing filter (Active only for shared and changed filters)
-
Share with Other Local Projects: Make the filter available in all local projects on your Mac.
-
Publish Changes: When sharing filters, publish changes for all local projects.
Now that you've learned how to filter and organize your project data effectively, let's move on to the next section, where we'll explore how to create reports and export them to meet your project management needs.
We’re happy to refer you to our partners. They offer dedicated Merlin trainings for any topic and support rolling out Merlin across your projects.
We recommend: Gareth Watson, certified Merlin Project Trainer (online & inhouse)
Do you have questions or want to connect with us on social media? Then click on the buttons below.

 E-mail
  Linkedin