Setting Up Resources for the Open Day Event
For an efficient and streamlined execution of VitaLeaf Botanicals Inc.'s Open House Event, the core team could consist of a Project Manager to oversee the entire event, a Logistics Coordinator to handle the specifics of the venue and setup, a Marketing Specialist to manage promotions and public relations, and a Guest Relations Officer to oversee the attendee experience. This lean team would work in concert, each with clear responsibilities, ensuring that all aspects of the event from planning to execution are handled with precision and attention to the company's standards.
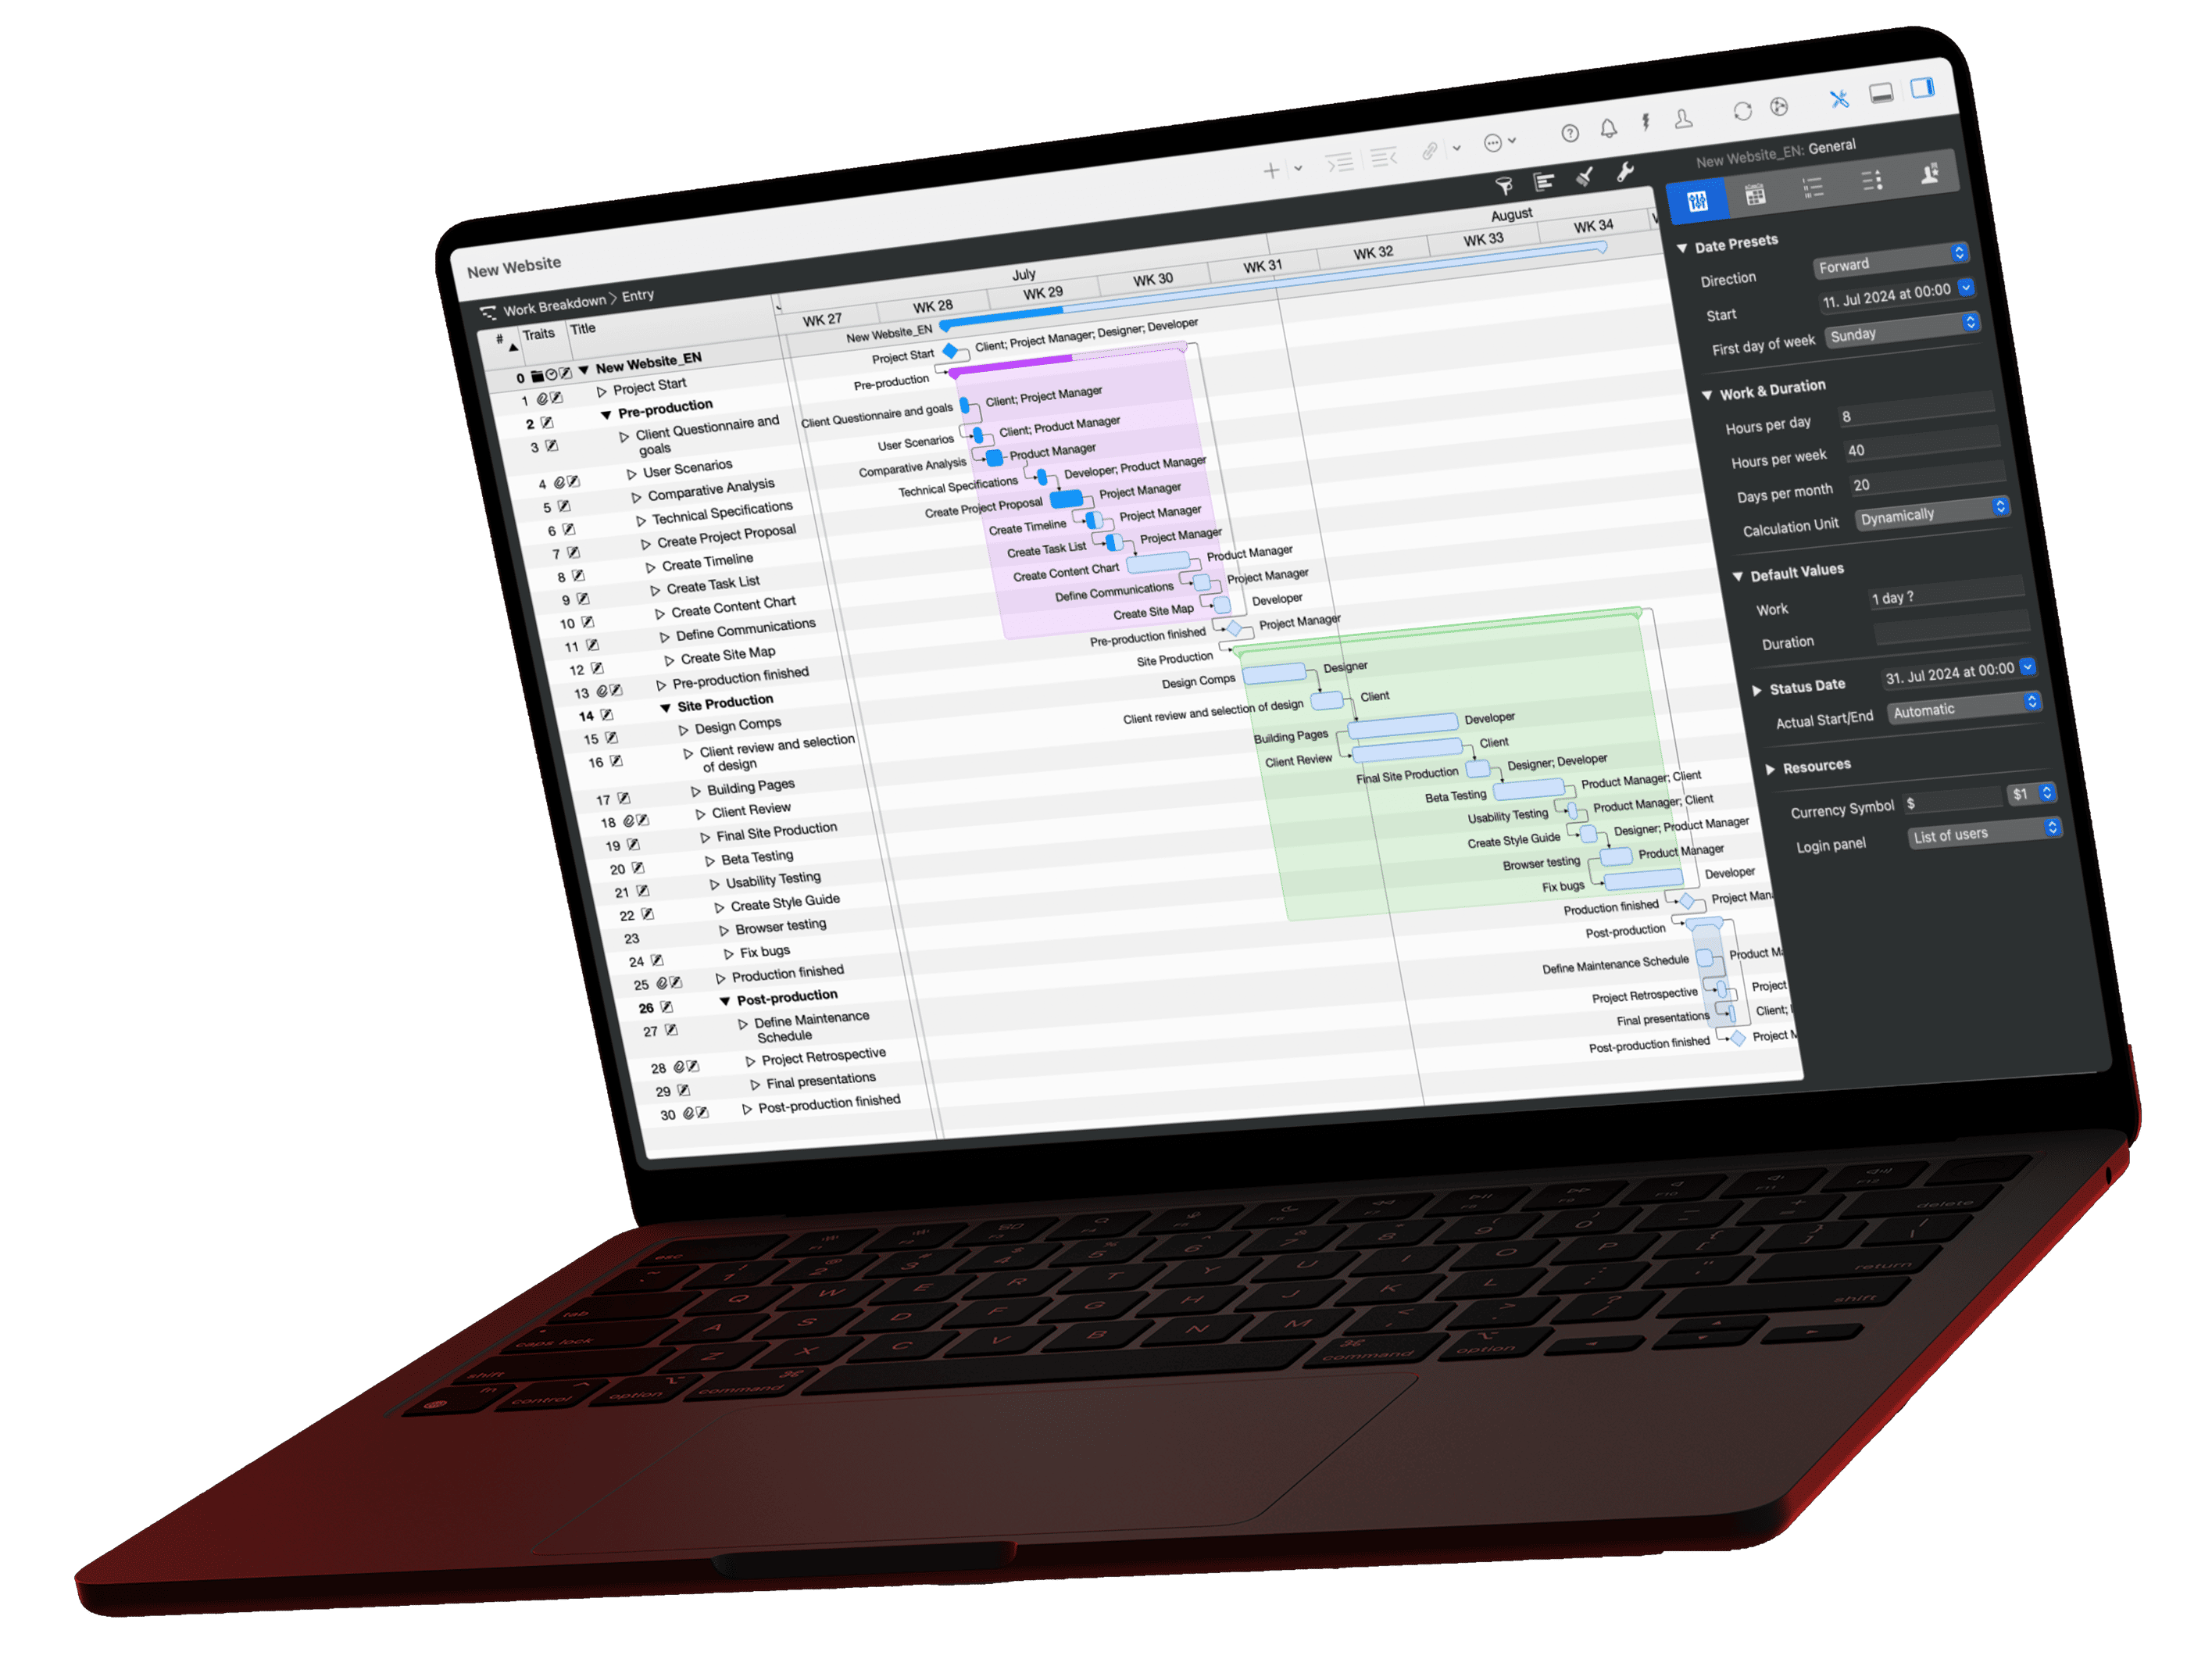
Here's a step-by-step guide on how to do it in Merlin Project:

Assigning resources to specific activities is simple. Locate the "Resources" Tab (it's the icon of a person in the Tool Bar) and click on "New Resource". Enter their title and further details if you want. You can create four different types of resources:
- Person
- Material
- Company
- Equipment
Then, simply drag and drop the desired resource from the Resource window onto the activity, group, or milestone where you want them to be involved.
Another way to assign resources:
- Begin by clicking on the "Resources" tab in the toolbar, represented by the image of a person. This action opens the Resources window.
- Inside this window, you can create new resources by clicking on "New Resource".
- Give your resource a name and hit Enter. Select the activities that the resource shall be linked with. Then you can directly assign this resource to some or all activities in the project by checking the "Assign" box.
For a more detailed view and management of your resources:

You can access the Resource View, indicated by a right-pointing button (→) within the Resources window. In the Resource View, you have the option to add more comprehensive information about your resources, including images, contact details, and other relevant data.
Tip: You can separate the resource window from the toolbar by clicking and holding down the mouse on the arrow on top of the window. Then simply drag it away from the toolbar, and the window will stay where you've positioned it.
Now that we've set up our resources, let's add a monetary value to them. In the next chapter, we'll have a look at the costs for individual resources as well as the overall project.
Questions about the learning path?
We’re happy to refer you to our partners. They offer dedicated Merlin trainings for any topic and support rolling out Merlin across your projects.
We recommend: Gareth Watson, certified Merlin Project Trainer (online & inhouse).