Vous planifiez vos projets avec Merlin Project, vous avez lu la 1re partie de cet article de blog et souhaitez maintenant analyser le contenu marqué par des balises ?
Nous vous présentons dans cet article les outils et les étapes nécessaires dans Merlin Project.
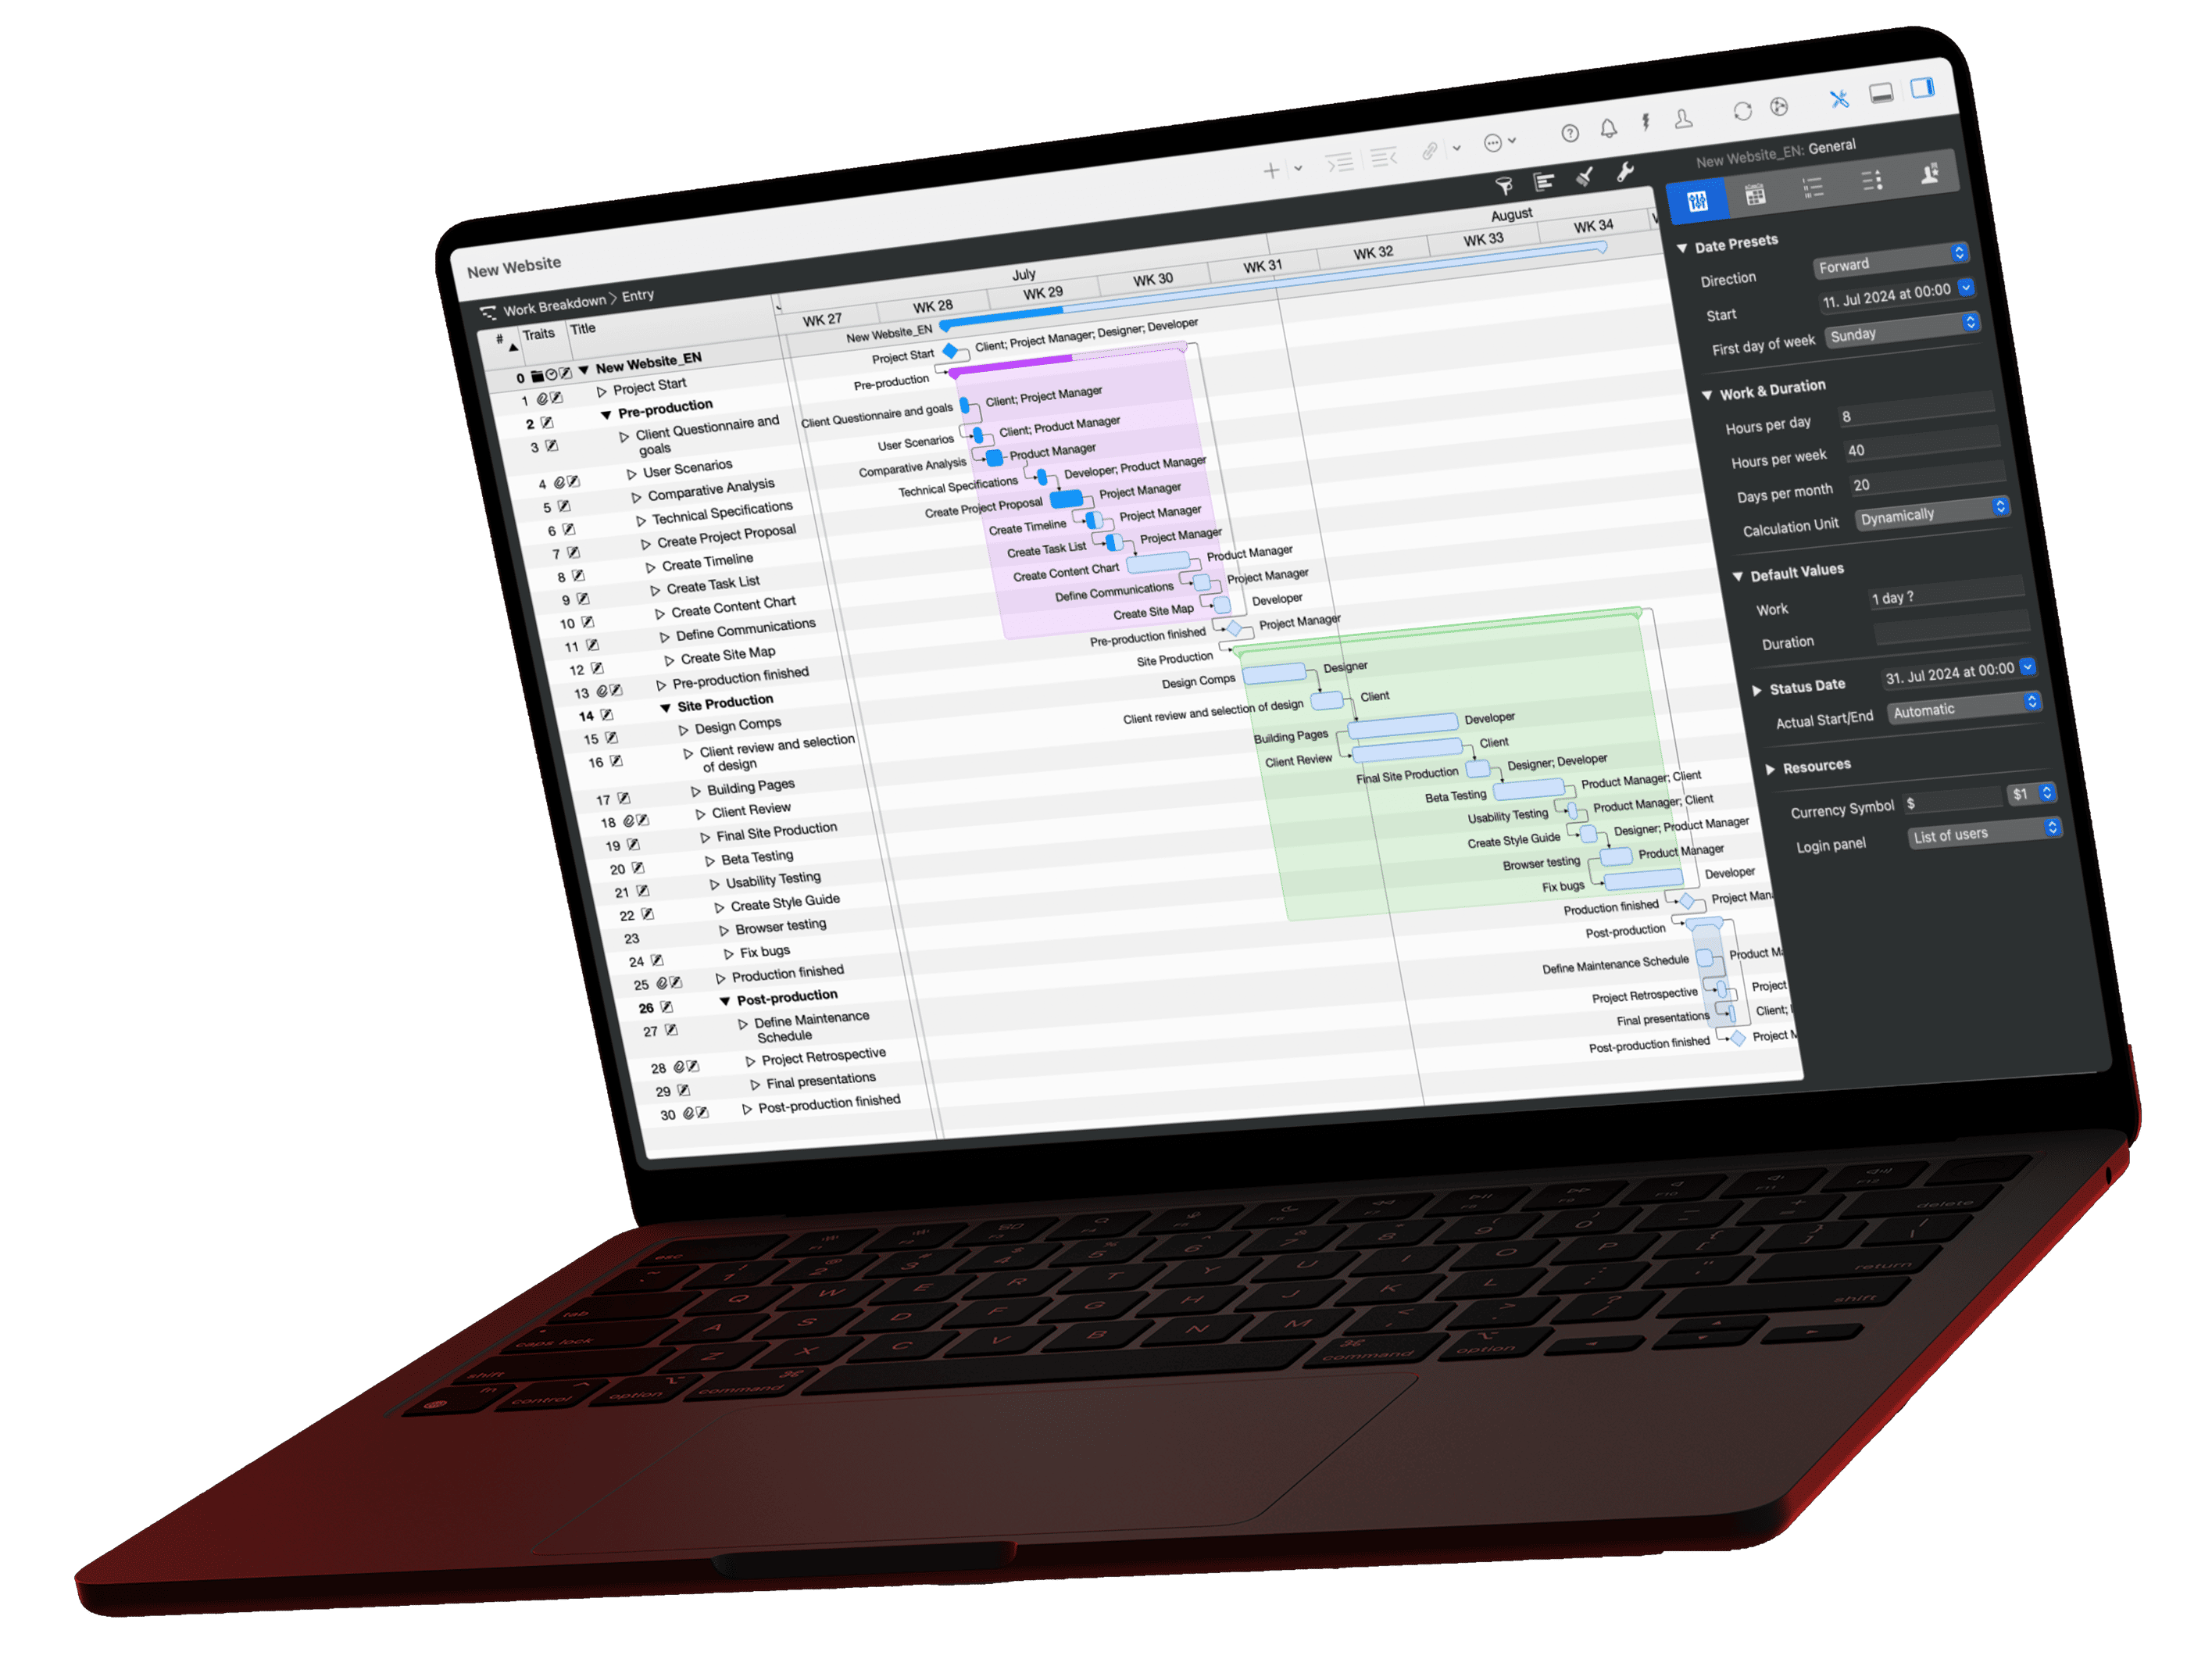
Commençons par simplifier votre flux de travail. Merlin Project offre différentes perspectives pour vos fichiers de projet ; vous connaissez déjà les vues standard.
Créer une nouvelle vue
Commencez par créer une nouvelle vue, en vous appuyant sur le projet de base de la 1re partie de cet article de blog.
- La vue active est Structure de décomposition > Saisie
- Cliquez sur Saisie dans le sélecteur de vues
- Cliquez sur Modifier... dans la liste de sélection
- Cliquez sur +
- Nommez la nouvelle vue Contenu avec balise
- Confirmez avec Activer

La nouvelle vue est maintenant active et vous pouvez organiser le plan selon vos préférences ; par exemple, masquer une colonne inutile :
- Déplacez le pointeur de la souris sur le côté droit de l'en-tête de colonne Travail prévu
- Cliquez sur le symbole déroulant
- Sélectionnez Masquer
Utiliser les filtres : tâches contenant exactement une balise
Votre projet contient les balises T1 et T2. Vous souhaitez analyser les tâches correspondantes séparément. Pour ce faire, utilisez les filtres dans Merlin Project en procédant comme suit :
- Cliquez sur l'icône Filtre
- Basculez vers l'inspecteur et cliquez sur +
- Nommez le nouveau filtre Filtrer balise T1
- Cliquez sur la Loupe
- Sélectionnez les paramètres suivants : Tâche | Balises | est égal à | T1

- Cliquez de nouveau sur la Loupe pour fermer les paramètres du filtre
Le plan de projet est maintenant réduit aux deux tâches portant la balise T1, car le nouveau filtre est actif. La coche à gauche du nom du filtre indique quel filtre est actif.
En suivant le même modèle, créez maintenant un autre filtre :
- Nommez le nouveau filtre Filtrer balise T2
- Sélectionnez les paramètres suivants : Tâche | Balises | est égal à | T2
Le plan de projet n'affiche désormais que les tâches portant la balise T2.
Vous pouvez basculer entre les deux filtres selon le contenu de projet souhaité.
Utiliser les filtres : tâches contenant plusieurs balises
Jusqu'à présent, toutes les tâches contiennent exactement une balise. Mais que se passe-t-il si plusieurs balises sont attribuées à une tâche ?
- Désactivez d'abord le filtre sélectionné
- Sélectionnez le Groupe A
- Choisissez le menu Édition > Copier
- Choisissez le menu Édition > Coller
- Renommez le groupe nouvellement collé en Groupe B
- Sélectionnez le Groupe B et les trois sous-tâches
- Activez la balise T1 dans l'inspecteur

Si vous activez maintenant le filtre Filtrer balise T1, seules les deux tâches contenant uniquement la balise T1 s'affichent à nouveau. Pour pouvoir afficher également les nouvelles tâches, vous avez besoin d'une autre option de filtre :
- Basculez vers l'inspecteur Filtre et cliquez sur +
- Nommez le nouveau filtre Contient balise T1
- Cliquez sur la Loupe
- Sélectionnez les paramètres suivants : Tâche | Balises | contient | T1
- Cliquez de nouveau sur la Loupe pour fermer les paramètres

Ce filtre affiche maintenant toutes les tâches qui contiennent T1. Vous pouvez créer un autre filtre avec les mêmes options pour T2.
Vous savez maintenant comment personnaliser le plan dans Merlin Project au sein d'une vue individuelle et comment utiliser des balises et différents filtres pour réduire le contenu du projet et le mettre en focus.
Remarque :
Cette 2e partie de notre article de blog vous montre comment isoler les tâches marquées par des balises. Dans le prochain article, nous vous montrerons comment les mettre en valeur visuellement à l'aide de styles.
Si vous avez des questions sur cet article de blog ou si vous souhaitez en discuter, nous attendons avec impatience votre contribution dans notre forum.